


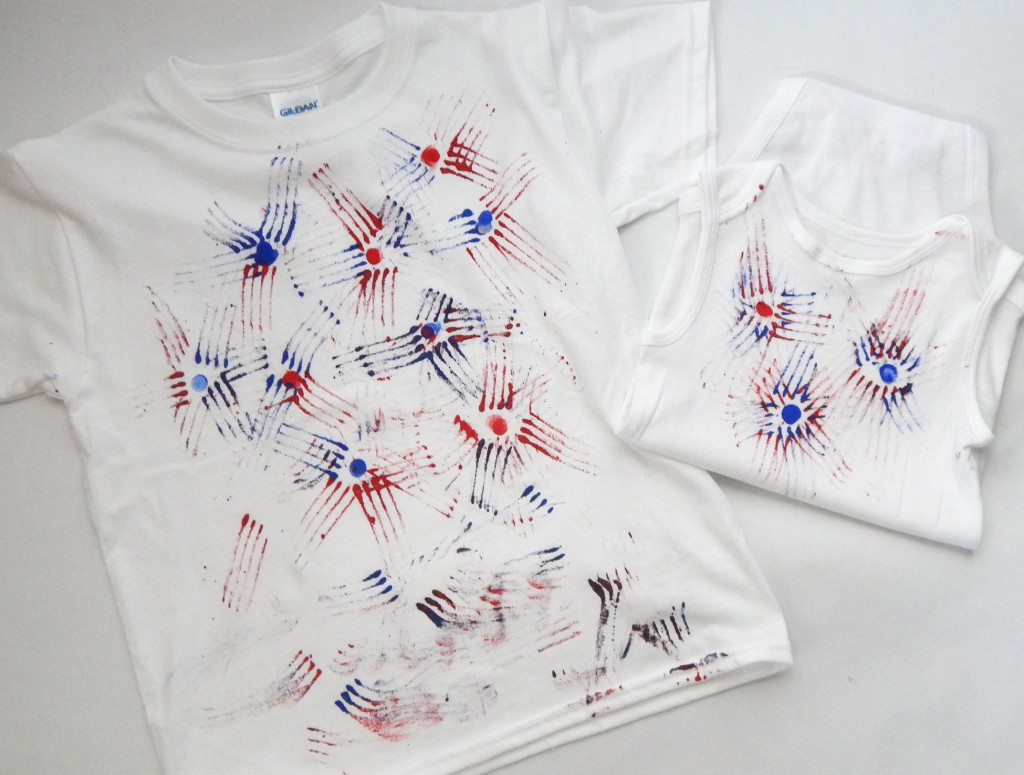
Summer is upon us and so is the upcoming middle of summer event, the 4th of July!! Every summer growing up we would make fun shirts with our cousins to wear while we watched the fireworks. I plan to continue this tradition with my children.
Here is a tutorial on how to make fingerprints and fork fireworks. You could make this on a shirt (like the tutorial), on a canvas, on a tablecloth, or on anything really!

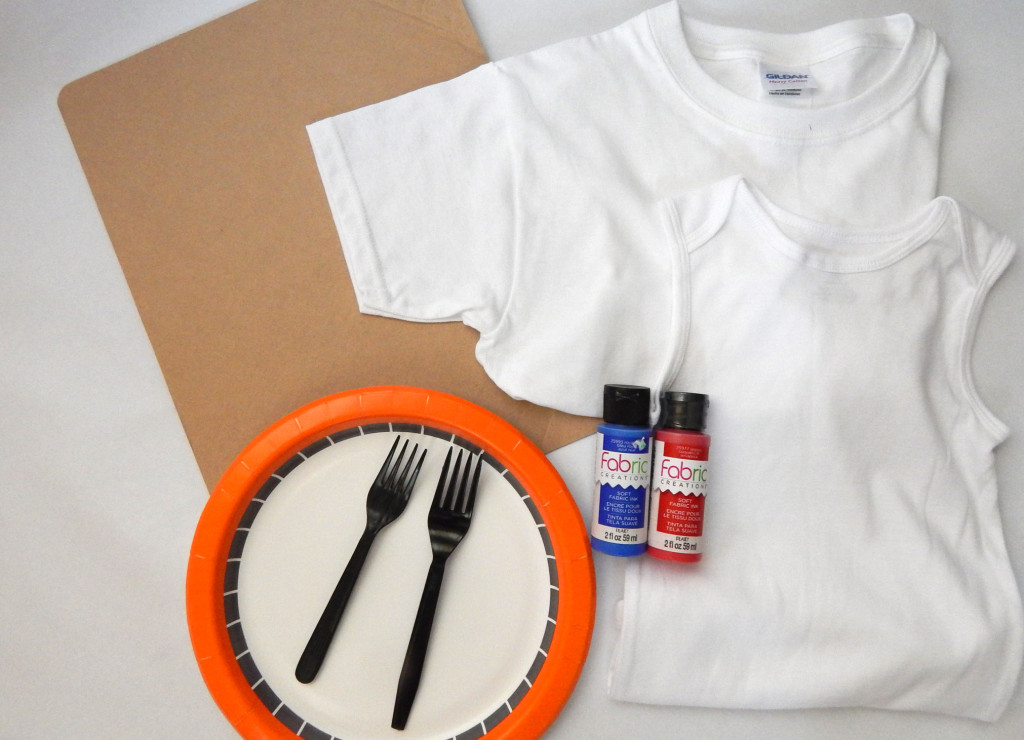
Supplies:
- 2 plastic forks
- 1 paper plate
- Red and blue fabric paint (available at any craft store)
- White t-shirt (pre-washed)
- Cardboard
- Paper towels
Step 1: Place the cardboard inside the shirt. Be sure to put the cardboard in so the paint doesn’t bleed through the shirt. You can use any type of cardboard or cereal box! Put a small amount of paint on the plate. You don’t need a ton of paint for this. The only recommendation is to have the blob of paint be as wide as the fork.
Step 2: Have the child put his or her fingertip in the red or blue paint. Put fingerprints spread about on the shirt. This will be the center of the fireworks. (Adult supervision is recommended so there aren’t a tremendous amount of dots or inappropriate placements in the chest area. I learned the hard way.) Wipe off the paint from the child’s fingertips.
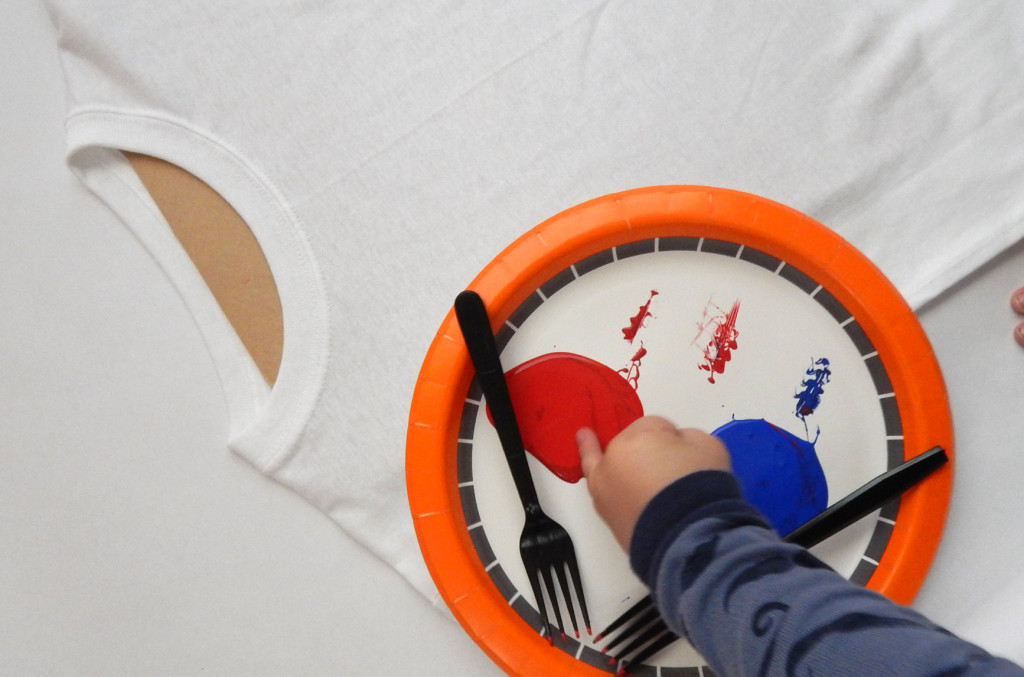
Step 3: Dip the prongs of the fork in the paint. Gently press and drag the fork out from the dots. Alternate red and blue paint. Be sure to keep the forks in the separate colors because it can turn into purple quickly (which is great if you are making a TCU shirt.) If the colors do get mixed, simply wipe off the fork and add a little more paint to the plate.
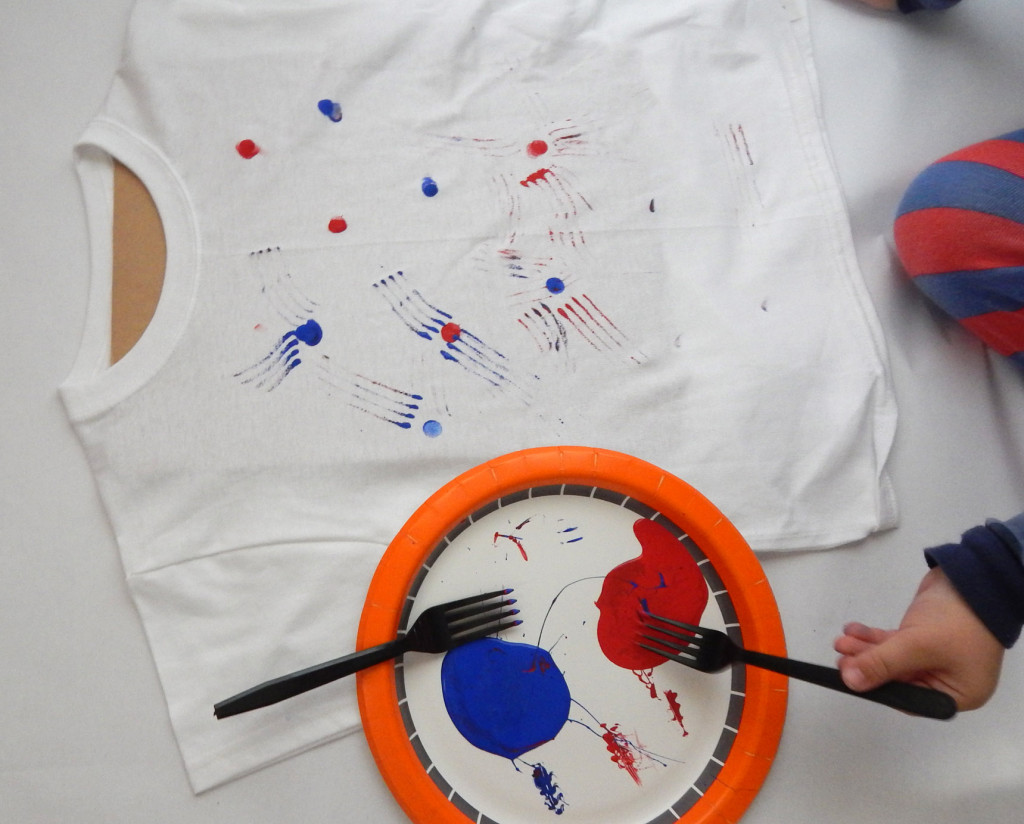
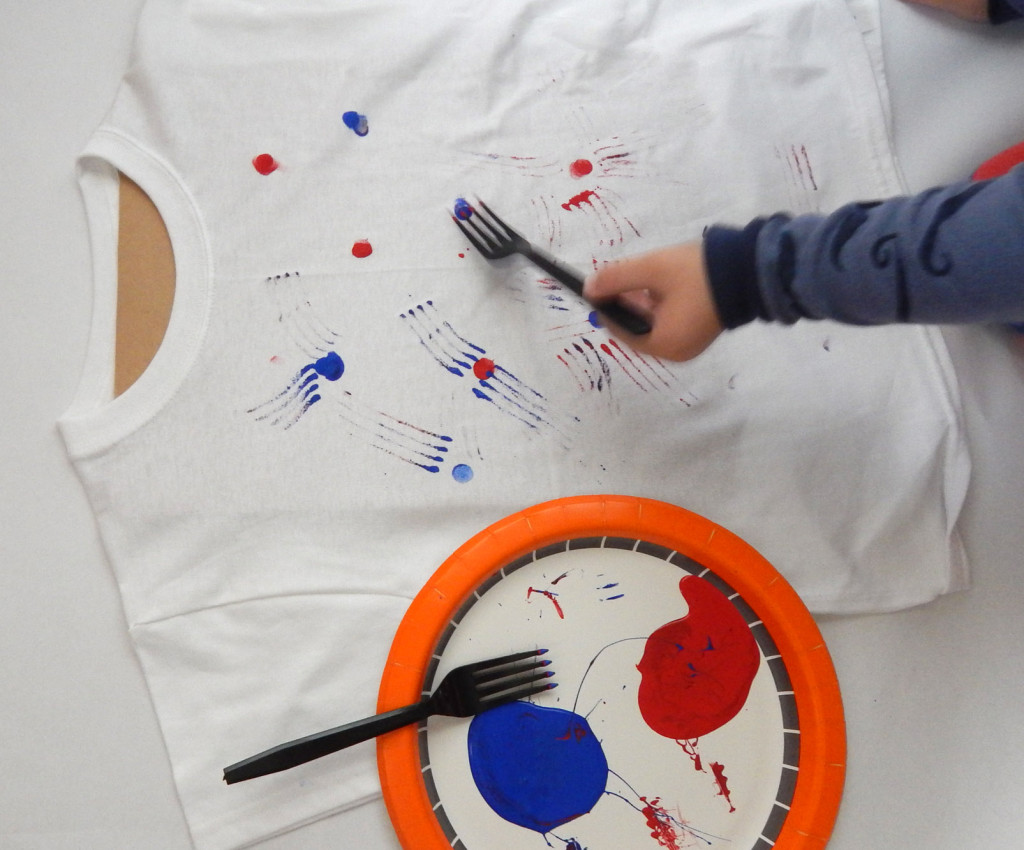
Step 4: Continue painting until the child has finished! Watch as the fireworks come to life.
Step 5: Follow the instructions on the fabric paint. Most require 24 hours to dry. (If you don’t have this much time, you can use a hairdryer to dry.)
Step 6: Using a dry iron, heat-press the paint into the shirt. Use a pressing cloth or a simple piece of cotton fabric over painted area while pressing.
Hand wash for 72 hours after painting.
Sidenote: If you are an OCD parent like I am, be sure to take deep breaths, they will not be perfect!


Great idea! These shirts would have been perfect for our July 4th celebration. See it here: https://youtu.be/a7tsh7inFYc